


All done and looking spiffy. This room is quickly becoming our favorite. All the light that comes in makes me so happy.
So, here is our DIY ottoman, a mixture of following this tutorial I found on Pintrest and just making it up as we went.
First lets start with materials. If you are doing it the way we did you will need
- A frame- find a steel worker in your area and just ask them to quote you on a frame of your choosing- You can also find a ton of metal legs on Etsy.
- 3/4 inch plywood. The tutorial we found actually used peg board but I wanted this to be super duper sturdy so I went with plywood.
- 3" thick foam (ok this stuff was crazy expensive at $47 a yard! And I needed three yards.) I didn't expect this to be a huge expense. Luckily we found foam on Amazon for much cheaper. I say go to Amazon.
- 1" thick quilt batting to cover the foam.
- Button making kit
- Upholstery needle and upholstery thread
- Spray adhesive, staple gun (and tons of staples) and a drill gun
- Finishing fabric
- Fabric
- A long straight edge for all the measuring.
We started by deciding how many buttons we wanted and decided 3, 4, 3 was the best for this size. 4" wide and 6.5" long. Refer to picture below because I know that was vague.
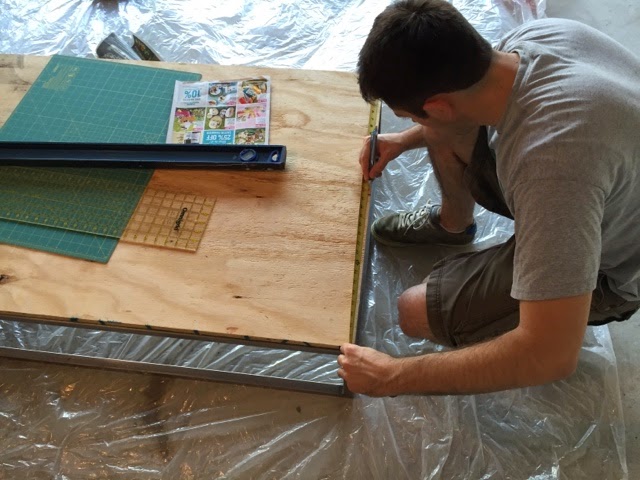


We marked the exact spots and started drilling away. I was so happy to have my studly man help me with this part. He is a man of many talents.

I sprayed the frame (after much deliberation) with black spray paint that was paint and primer in one. Then started making my buttons as it dried.

I cut a square off of my fabric and pushed in the button and then trimmed off the excess fabric.


This part is not hard just SOOOOOO time consuming. Also I promise you, your cute little thumbs will hurt after this step. 24 buttons later and I has happy to be done with it.

I then mapped out the ply wood on onto my foam and then started cutting out the holes.

I used a pairing knife and it turned out to be amazingly easy. Cutting out holes will help to get those deep tufts.
Ok I skipped a few steps but all I did here was line up the foam and plywood and put them together using spray adhesive. This stuff is tough cookies once you spray be sure to get it right where you want it because it won't come up easy other wise. Once the foam and plywood were attached I wrapped my batting and got to stapling. The only tricky part is the corners. My one tip is to cut into the corners.


Then it was time to add the buttons. It took us a while to finish this step, again just time consuming. We pulled the needle through top to bottom on all the holes. We did half the buttons and then flipped the board on it's side and secured the buttons to the board. As you secure the buttons you have to make your pleats.

This was our first attempt but were a little worried it would come loose.

So our next try we tied the strings with extra fabric and then stapled it down. This proved to be much more secure and allowed us to make deeper wells.
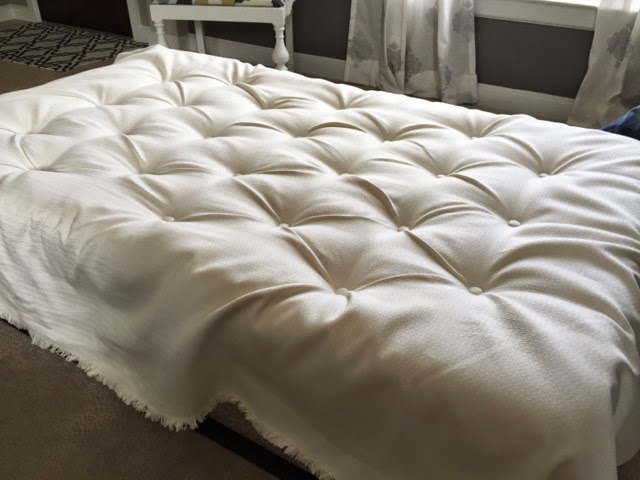
All buttons are in and secure, pleats are made and now ready to staple the fabric. We did all sides first and then the corners. Stapling and then cutting off extra fabric. Oh, I will say it is important to make the pleats going from the buttons to the back of the board. We made the pleats first and then stapled the rest of the fabric down. It just adds a super professional finishing touch to it.
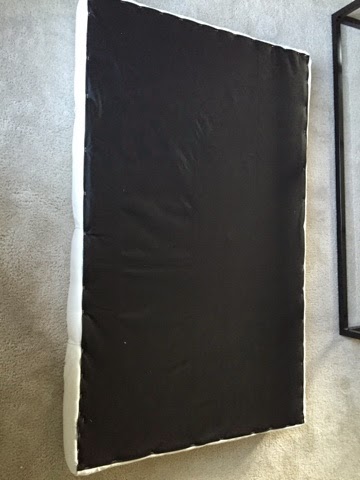

Finished this off with finishing fabric and then put on the legs.


Finished product makes me so happy. This really was a labor of love. It took so long but man it really makes me happy.
We rewarded ourselves with a movie night at this sweet theater we found. It is recently redone and every theater has full reclining leather seats. If you live in this area you should totally go here. Such a fun place.


